
I often get asked how to fix a SketchUp model. This inevitably requires me to ask for a copy of the original file and to do some simple checks. Most problems relate to groups and tagging, which if done incorrectly can create a fractured collection of geometry that fails to create surfaces, extrude, or in anyway behave. The topic for this blog is to give an overview of the correct way, or work flow, you should use when creating geometry (2D or 3D)
The simple workflow mantra when creating anything in SketchUp is
Create/ Group/ Tag/ (repeat)
Here is a worked example, I am going to create this simple bench, outlining the workflow and menu picks as I progress:
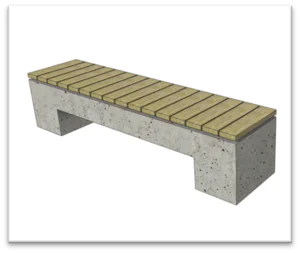
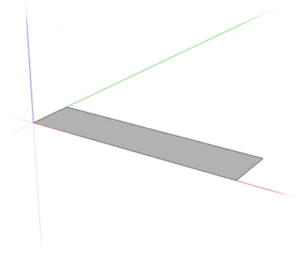
1.In a new session of SketchUp, I have created the footprint of the bench (using the rectangle tool)
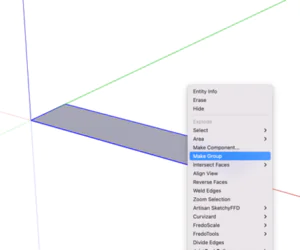
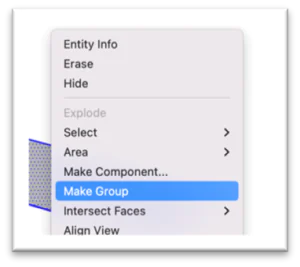
2. Selecting all the geometry (triple left hand click) this box is made into a group. We make things into groups as soon as we can so that there is a no risk of it accidentally merging with geometry that we might subsequently create.
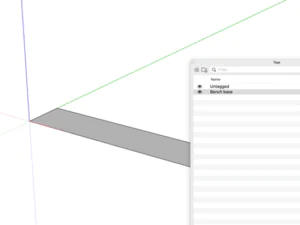
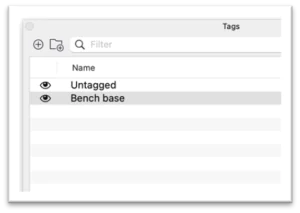
3. Once the rectangle is grouped, I create a new tag. Make your tag names short and specific, in this case “Bench base”
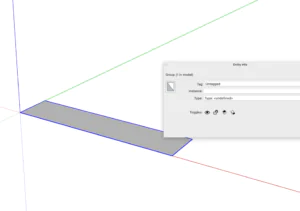
4.With Entity Info open, select the rectangle group. The Entity window tells us that the rectangle is indeed grouped and is currently un-associated to any tag.
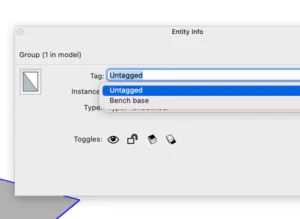
5.From the Tag pull down window in entity info, select the tag (label) that you want this group to be associated with, in this case “Bench base”. By selecting the tag, the geometry automatically becomes assigned to it.
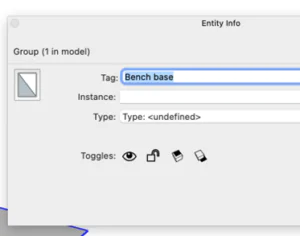
Select the rectangle again, with the Entity window still open, and it will now show that the group is associated with the Bench base tag.
(Don’t forget to save as you progress!)
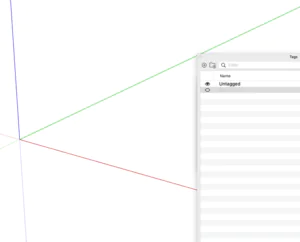
If you deselect the eyeball icon alongside a tag, it will stop displaying any geometry associated with it.
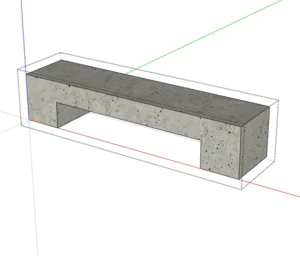
6.Double click to open the group; this allows me to work on the group whilst greying out all other geometry. Here I have lifted the geometry up, added a simple cut to create the legs and a basic concrete texture. Clicking away from the dotted black box closes the group down.
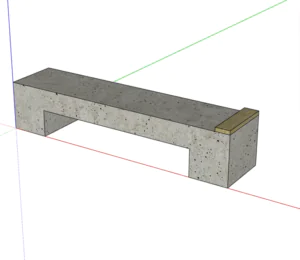
7.The bench needs a comfortable seat. I have added a plank and given it a thickness
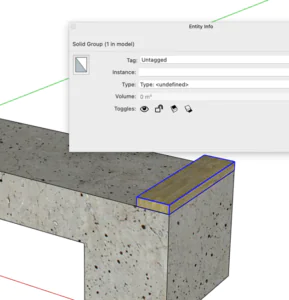
8.As before, I select the plank geometry and make it into a group. Because the base is already a group the two have not merged. It has not been assigned to a tag at this stage.
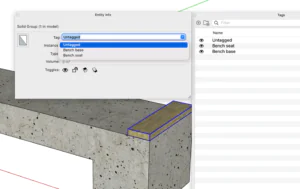
9.I have created a new tag “Bench seat”. When I select the plank group and pick the pull-down window in the entity info window, bench seat is available and I select it to assign the plank geometry to that tag
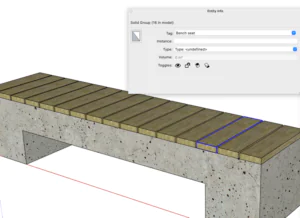
10.I can now make copies of the plank and arrange them as required. Because the original plank had been assigned a tag, subsequent copies are automatically assigned the same tag. I could if I chose, select a group, and from the tag pull down window select a new tag to move the association for that geometry.
At this stage I would select all of the planks and make them into a group. This group does not need to be assigned to a tag as all the geometry inside it already has a home.
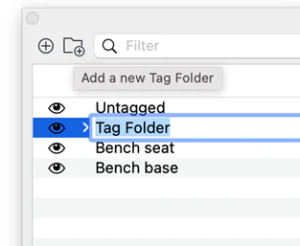
A very useful and often overlooked feature on the tag window is the Tag Folder. This allows me to create a folder and put other tags inside. The result is that whole families of tags can be controlled (visibility) with a single click. After selecting Add a Tag Folder, give it a name, here it is called Bench (the folder name must be unique)
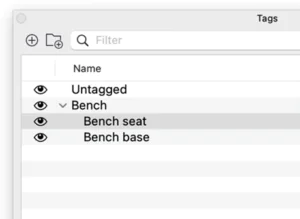
12.Drag the tags that you would like to be in the parent onto the folder name, they will appear indented on the list once they have been moved. Now you can either switch individual items of the bench on or off or control all tags withing the bench folder by switch the folder’s visibility on or off. This also allows you to collapse tag structures so that they are easier to see and navigate.
Summary:
- Create geometry and even if the shape/s are still very basic, make them a group
- Create tags with obvious names and assign the groups to them.
You might be tempted to create geometry, group it but leave tagging until another time. While it feels repetitive, the 3-step workflow will keep your work structured and when you return to it you will be thankful that you followed all the steps
Create/ Group/ Tag/ (repeat)
Note:
Components are special groups. In this example the 1st plank could have been made a component rather than a group, but this would not have affected anything in the workflow. Components can have names; they also have a property that means when one is changed, all versions reflect that change. This can be useful or annoying, depending on what you are trying to do.