
SketchUp – blog #1
A biweekly dip into useful and interesting things for SketchUp users
Bevelling up
Adding a bevel (a chamfer) to an edge is usually done when the basic modelled component has been completed. The geometry can be complex and the results not always what you expect. SketchUp native tools (eg “follow me”) will allow you to create simple chamfers and rounded corners but you have to use extensions when the bevel changes size or follows a complex path.
Round corner by Fredo6 is available through the SketchUcation Extension store plugin. It used to be free but is now a paid extension ($35).
Bevel is a new extension from Mindsight Studios ($49). It adds chamfers and rounded edges to very complex shapes and is simple to use. There is a free trial available.
Textures.
There’s a lot to say about textures and how to apply them in SketchUp, so much that I run a 5 part course on texture (see my courses for the next live session or on demand download version). But if you want some quick wins when using textures try these:
The best place to start is to find a website that has a selection you like and reflects the materials you want to use.
Textures need to be “seamless” (mostly) so that they repeat endlessly and fill your geometric surfaces. The edges of the repeat need to be invisible (a bit like wallpaper)
www.SketchUptextureclub.com is a very useful site, free or for €12/yr you get access to high resolution images. Remember these textures make your models look good and allow you to personalise your style so that it is different to what everyone else is producing. If you use external render software, the higher resolution images work well with no adjustments. And of course, your subscription ensures the website can continue to operate.


Try textures.com. There is a free version based on credits and it has a huge library. You must filter for “seamless” if that’s what you want. When might you not need a seamless texture? If you want to create a manhole cover, for example draw a circle (or rectangle) and apply a texture that has a manhole cover in it. Resize so that the image fits your geometry. No modelling and it looks realistic. The same applies for wooden posts, slot drains, metal panels etc. Applying and resizing a non-repeating texture gives character and realism to objects.
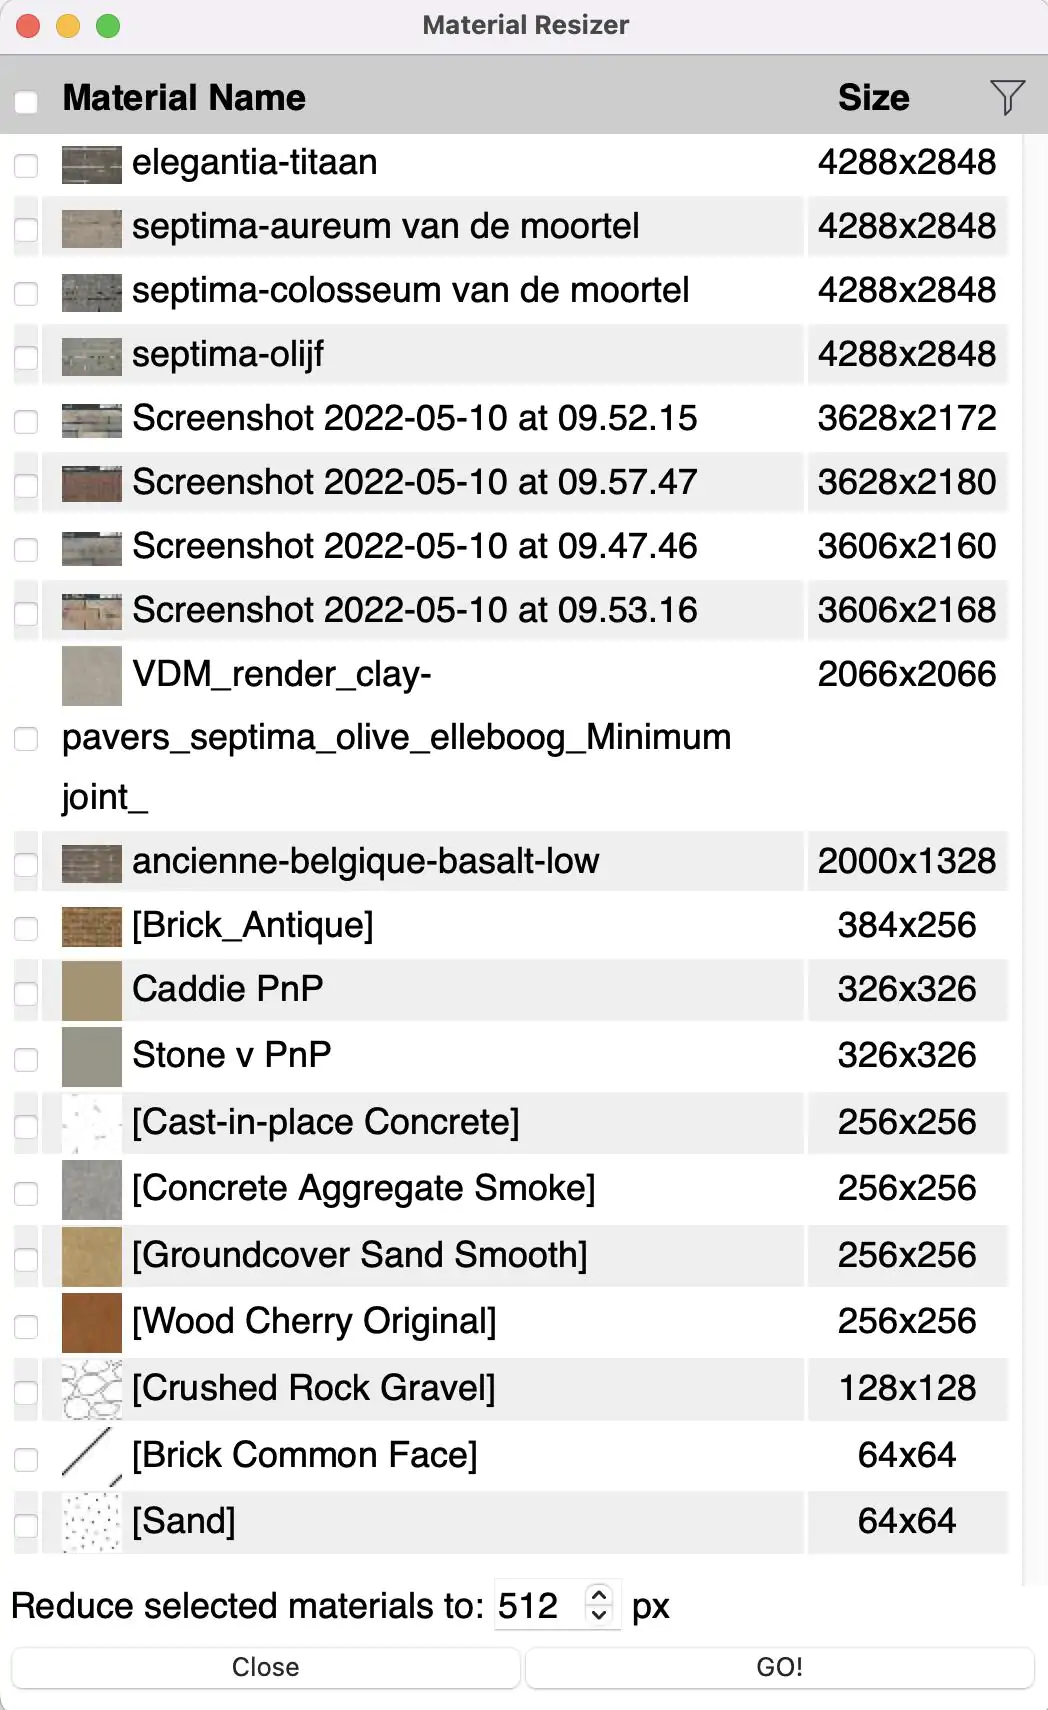
Some textures can be large file sizes, and this can impact on how fast SketchUp works with your graphics card. The easiest way to manage this issue is to download the extension “material resizer”, from the SketchUp extension warehouse and use it to resize textures in your model. You might notice some textures are 1000k, 2000k or even +3000k, this refers to the pixels per inch. Play around with the settings a see what effect, if any changing from 3000 to say 1000 or lower has. There is usually no discernible change, but your file size will be significantly reduced. Don’t forget to purge out old versions of textures. (window/ model info/ statistics/ purge unused)
Texture plugins:
There are lots of tools and plugins that will help make the application and adjustment of textures easier. Justin Geis, at SketchUp Essentials has numerous videos on texturing tools. His channel should be part of your essential viewing.
Hands on:
Basecamp is the biannual SketchUp conference. It covers training, workshops, new product introductions, and presentations by practitioners from all industries. I’ve presented and tutored at Basecamp and it is an unashamed celebration of all things digital modelling. It’s especially helpful if you are beginning or developing your workflow. Details of Basecamp2024 event have just been released and its Viva Last Vegas!
If you want advice or some direction using SketchUp, consider one of my courses or if you are a Heap member join my Live Q&A where you can ask anything SketchUp or construction detailing related.